Stargazing

Editor’s Note: This post has been in the works for quite a while. I hope you enjoy it. It also turns out to be the 200th post on the Gribblog! I’m sure that’s some sort of achievement.
Even though we didn’t have great weather, watching the solar eclipse in May was a lot of fun. It not only brought back fond memories from my last solar eclipse event (we even broke out the slide projector to check out some of the images I shot back in Erie, PA; sorry Johnsons) but it also reminded me just how much fun it can be to gaze up at the cosmos. So, having a few extra bucks and general spousal approval, I picked up a small telescope to boost my light gathering ability. For those who are interested, I ended up settling on a smallish 102 mm refractor from Explore Scientific. Since our backyard is a pretty poor viewing location, it needed to be a relatively portable scope, and somewhere around 4″ seems to be about the limit for an “easily” transported refractor.
Although the first scope I ever really used was my dad’s 8″ Meade Schmidt-Cassegrain, my nearly unfettered access to the 10″ Lundin refractor at Wittenberg’s Weaver Observatory has left an enduring fondness for refractors and their unobstructed aperture (almost every reflector design incorporates an obstruction where the secondary mirror sits). While the Lundin scope always had excellent optics, the mount used to be a bit suspect. In the years since I graduated, the scope has received a major overhaul, and I believe its main improvements were to the mount, which I hear is now more solid and tracks much better.
Regardless, initial experiments with my new scope left me longing for the Lundin’s flawed perch. This is due in large part to my decision to purchase an optical tube assembly instead of a complete package. Initially I didn’t have a proper mount, so for the so-called “first light” I attempted to mount the scope to a rather flimsy photographic tripod. While the experiment served primarily to underscore that a real mount would be essential, it was sufficient to get some nice images of the nearly full moon, and I could also rack the stars in and out of focus in order to gauge the optical performance. I’ll wait for better seeing and more stability to really gauge the scope’s performance, but the presence of chromatic aberration was readily visible when looking at the edge of the moon.
I didn’t have the scope in time to use it for the Solar eclipse; however, I was clearly going to have it in time for the Venus transit, and since the next transit isn’t due until 2117, it was probably going to be my last chance to watch the rare astronomical event. Of course, in order to use the scope, I needed a better mount and a solar filter. Since I still hadn’t figured out what mount to get (and time was ticking) I cobbled together a cheap altitude-azimuth style mount from pipe fittings. It’s actually relatively easy to make. All you really need is a pair of floor flanges, a couple of threaded nipples, and a tee. I went with the cheapest 1″ NPT fittings I could find and machined an adapter plate to connect the mount to my aforementioned tripod. While the improved mount isn’t suitable for real astrophotography (it’s both a little shaky and lacks even rudimentary tracking), it is sufficient to steady the scope while observing bright objects (think the sun). The first night with the new mount, Jess and I took another look at the moon and then pointed the scope towards Mizar. It was relatively easy to split the pair with just a 15 mm eyepiece (currently the only one I have). The eyepiece yields about 44x magnification, which is generally enough to resolve the 14.4 arc-second separation. Finally we rounded out the night with a quick view of Mars. Given the relatively large distance to Mars right now and the quality of the mount and available eyepiece, we couldn’t really see very much. If you’re not terribly interested in specs and math, you may want to skip the next paragraph, but I’m including it primarily for my own reference. By listing it here, I’ll never have to look up the info again or recalculate any of the pertinent details.
The scope is a 102 mm air-spaced achromatic (Fraunhofer Doublet) refractor with a focal length of 663 mm. This is a pretty fast scope with an effective f-ratio of about 6.5 (663/102). It shipped with a decent 2″ star diagonal, a 10×50 finder scope with reticule, and a 2″ to 1.25″ eyepiece adapter. I was also impressed by the included mounting rings and dovetail plate as well as the 2-speed Crayford-style focuser and the large brass compression rings in lieu of setscrews for securing the diagonal, camera, etc. I knew I wanted to be able to take pictures through the scope using the Nikon DSLR in prime focus mode, so I searched for a T-ring and adapter tube online. Oddly it seemed just about everybody was sold out of the 2″ adapter tube, but I got lucky and found one at S&S Optika in Denver (the only store in Colorado that specializes in telescopes). There were a bunch of 1.25″ adapter tubes available, but I was concerned that the smaller tube would either obstruct part of the Nikon’s rather large sensor or at least lead to vignetting.
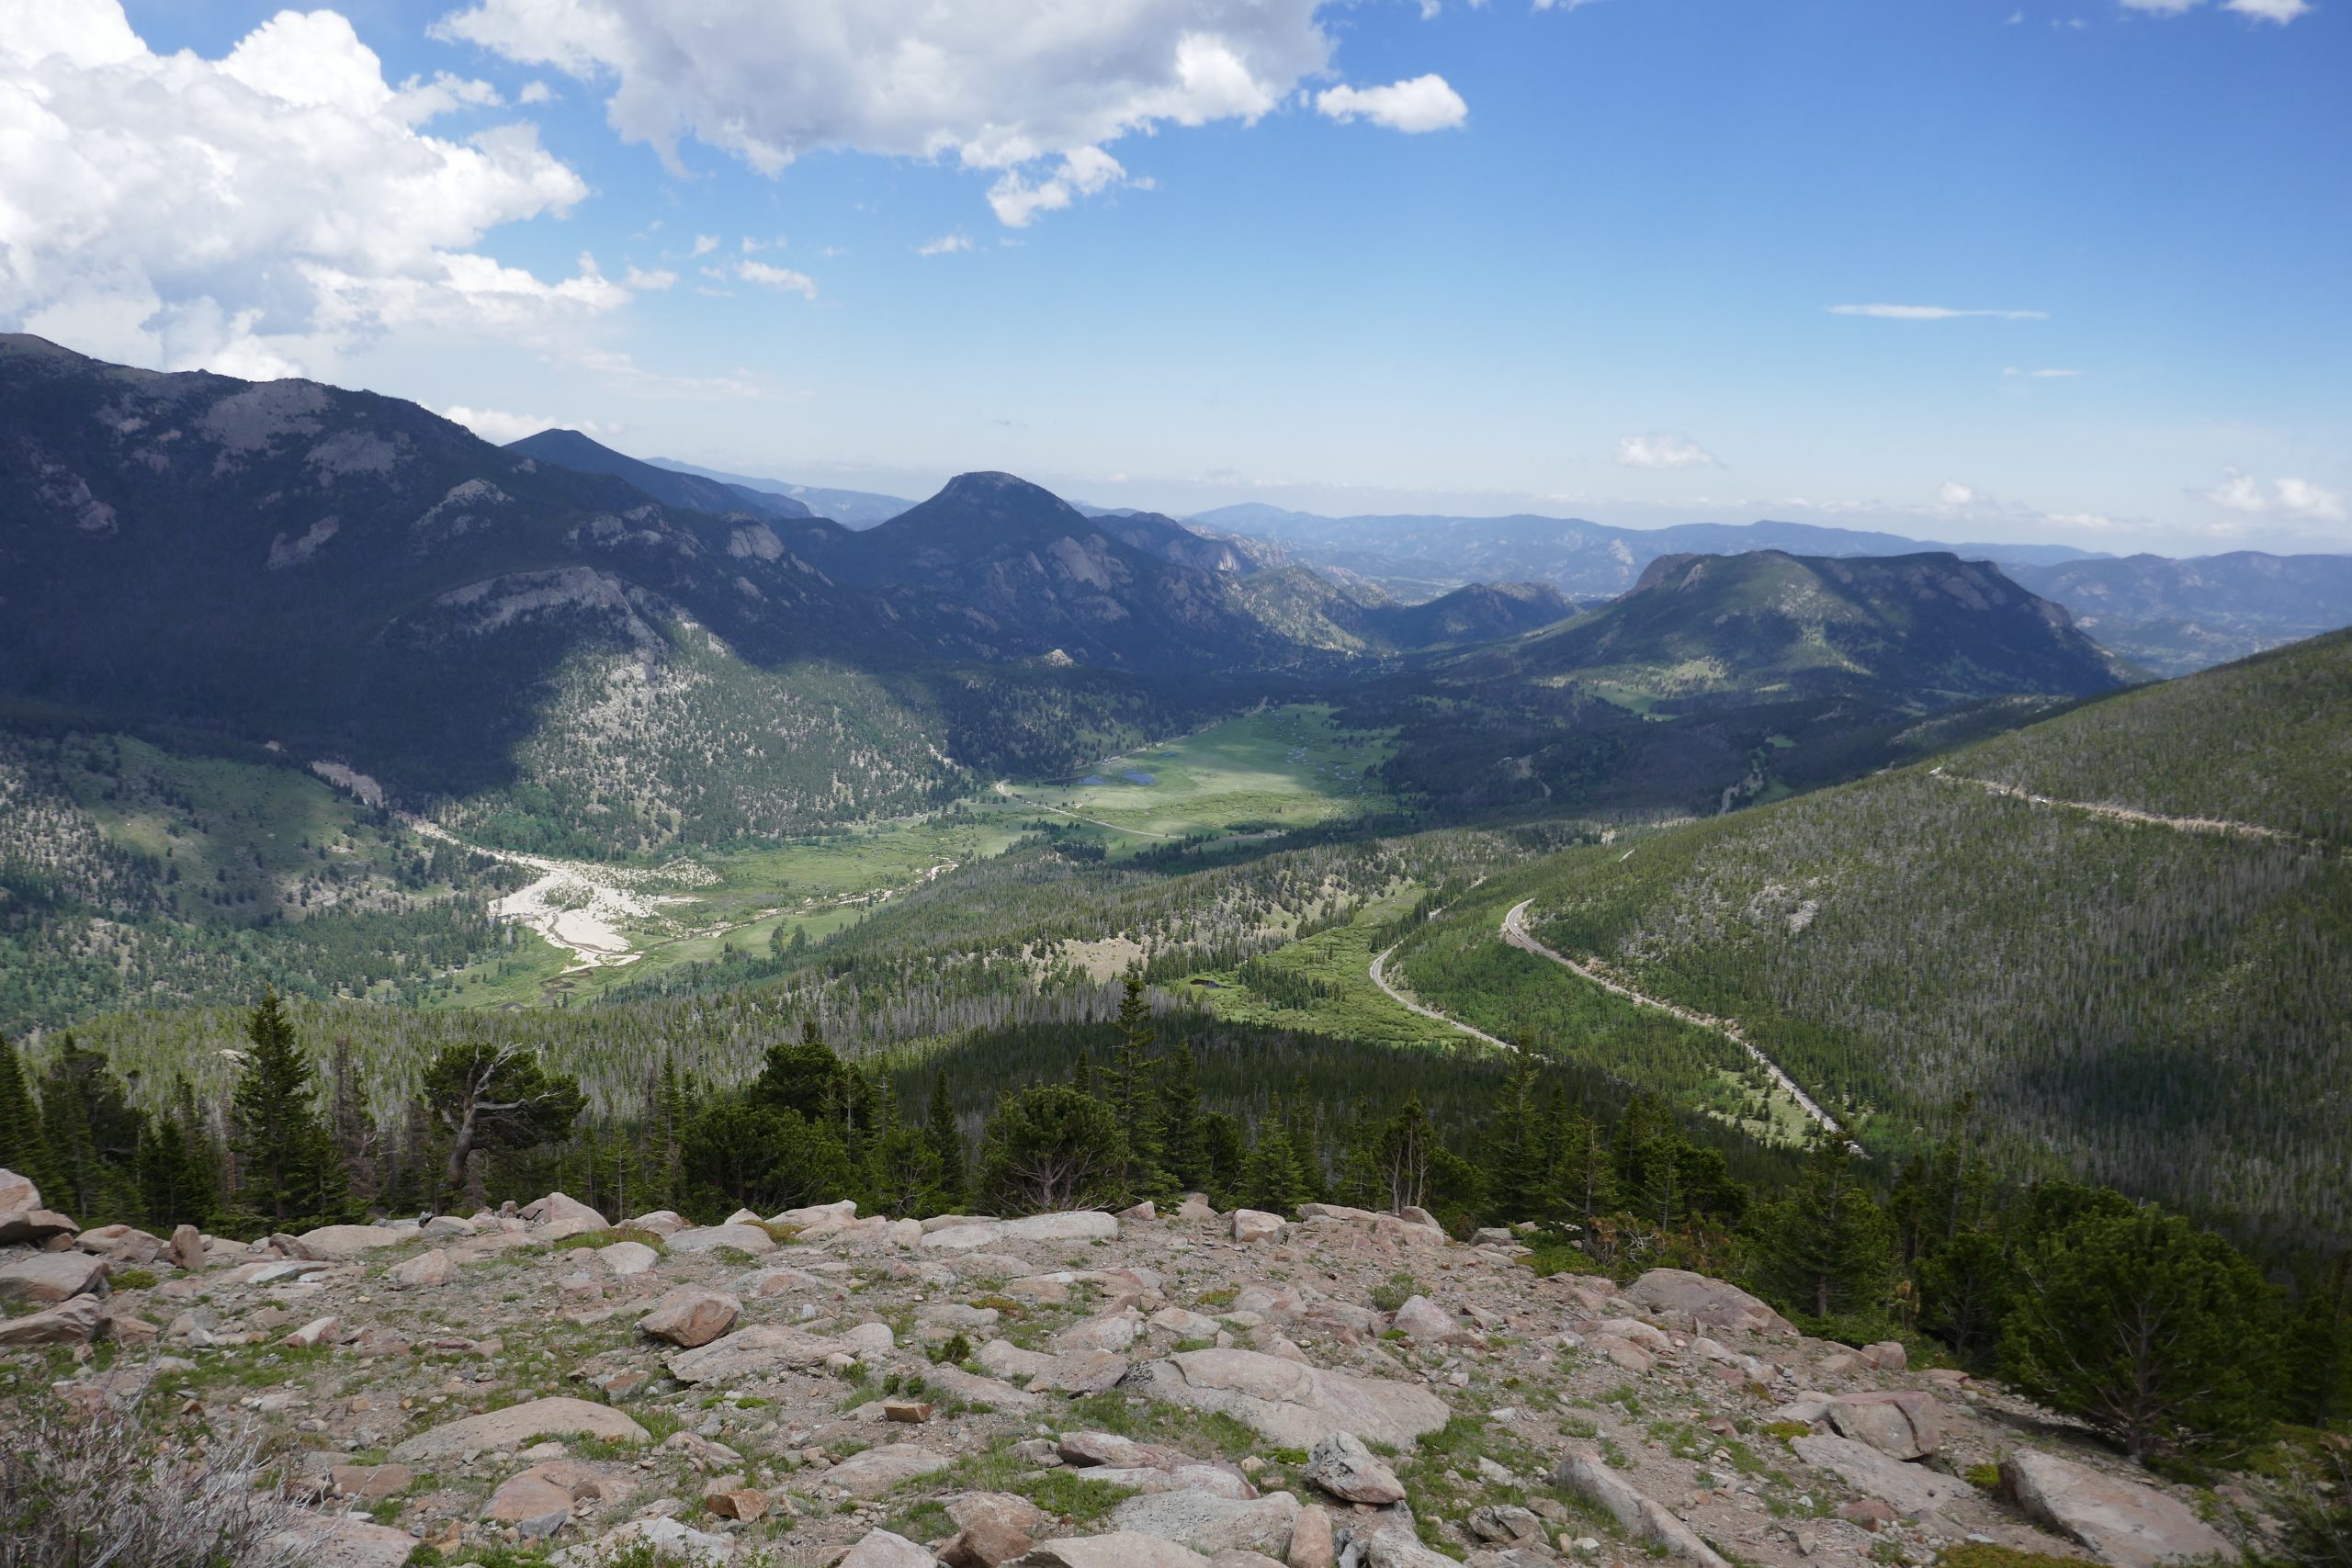
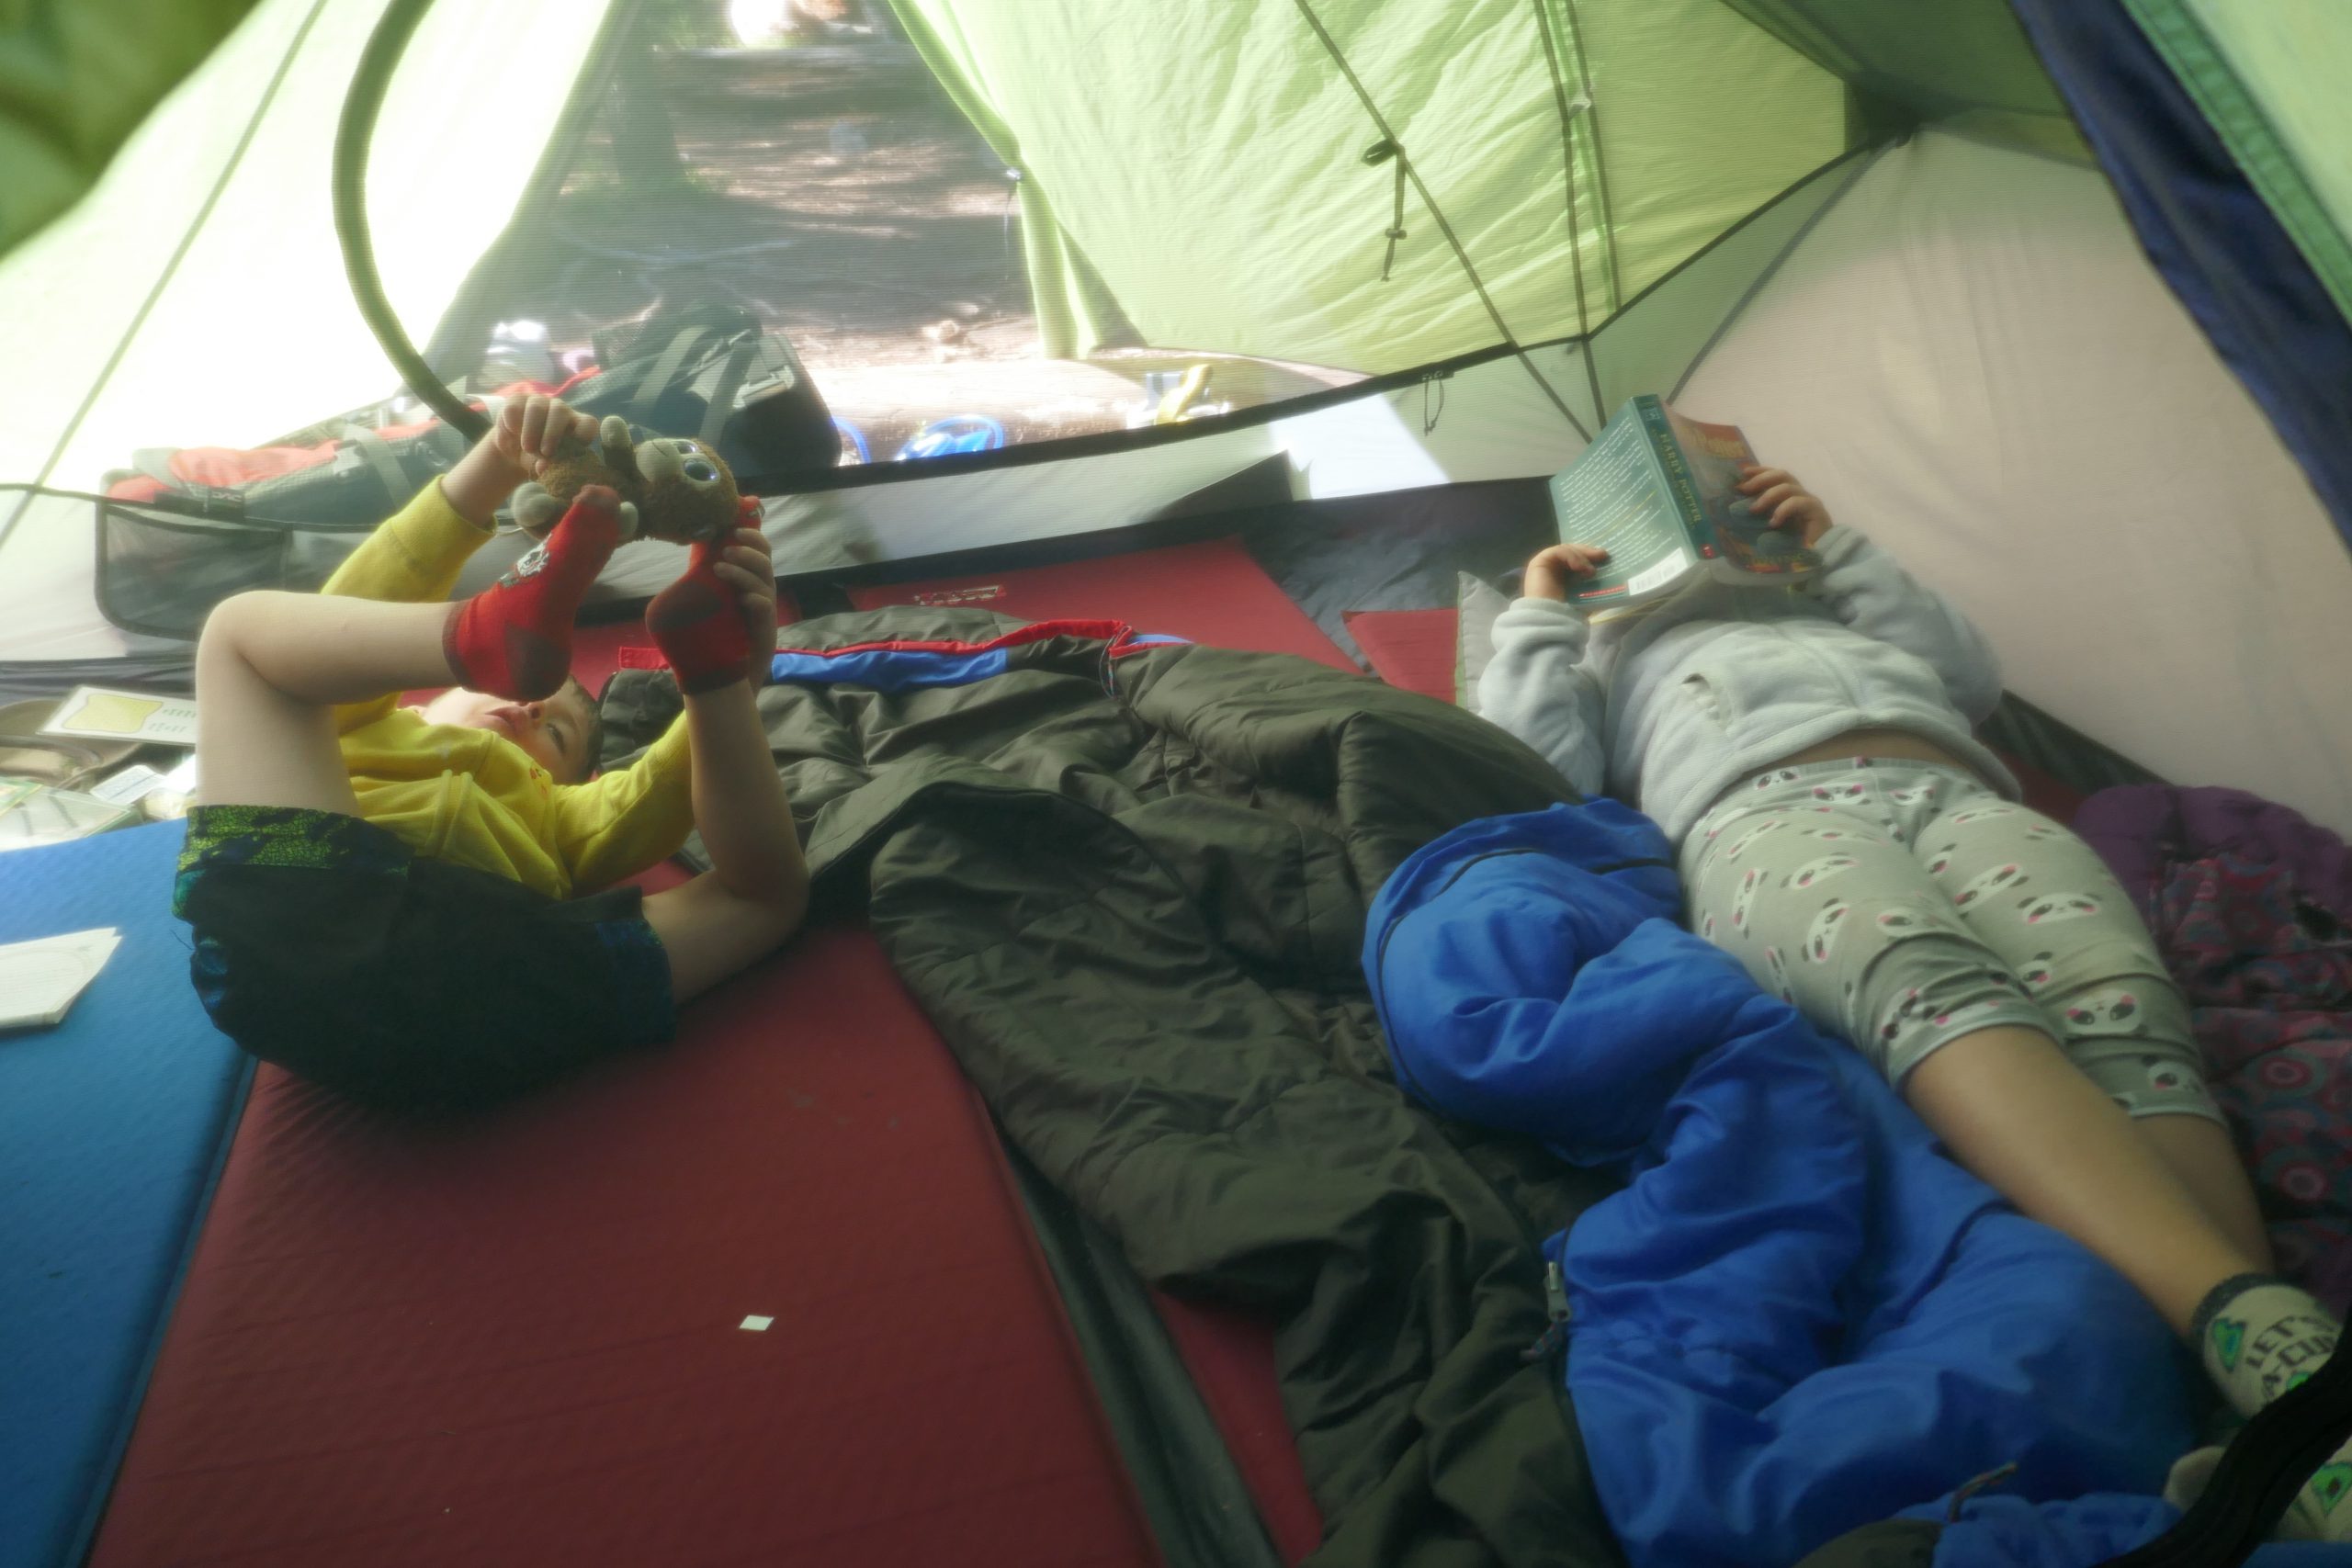
As mentioned earlier, the Venus transit went pretty well despite the rather crude mount. In fact, the major challenge in observing the phenomena was the spotty and persistent cloud cover. Nevertheless, we did get a few nice glimpses of the event and even a couple hundred pictures. In the months since, I finally settled on a proper mount for the telescope. I wasn’t really concerned with having a fancy computerized go-to mount, but I did want a motorized German equatorial mount specifically for astrophotography. I spent a lot of time looking for a quality used mount, but I seemed to keep missing out on the best deals, and several of the other options were going to be heavier than I needed (and therefore less portable). In the end, a Celestron CG-5 with dual-axis drive motors and go-to capability was the right choice. It has enough payload for me to add several pieces of equipment before reaching half of the rated maximum (a general rule of thumb for astrophotography mounts) and is reasonably light and portable. It turns out, though, that even this was too much to squeeze into the car for a Father’s Day weekend camping trip to the mountains, which is a shame since the fire ban was going to lead to boring and extremely dark nights. I guess a roof box for the car will be a necessity after all.
I’ve been waiting for a chance to write up my impressions of the mount (and scope) until I had a few more hours of use under my belt. Last night I was able to get everything set up (just after sunset) while grilling some brats. This was the first time that I achieved a decent polar alignment with the mount. The first couple of times, I pretty much followed the directions that came with the mount, but I discovered that the crude alignment (point towards the north celestial pole using a compass) wasn’t accurate enough. This time I added a step while on the first alignment star (Mizar) where I loosened the attachment bolt that holds the head to the tripod and used the micro adjustment to bring the Right Ascention around to point at the proper star (I’d previously used the go-to function to move the telescope from the index marks to what should have been the correct R.A. and Dec for Mizar). After getting things pretty close, I tightened the bolt and fine-tuned the position using the mount’s hand controller and the crosshair in the finder scope. From that point on, I just followed the written instructions.
With previous attempts, the alignment stars weren’t even necessarily within the finder scope’s field of view, but this time around, everything was within the main scope’s field of view (if a little off center). I must say, finding M13 was a lot easier with a properly aligned go-to mount. After a bit of messing around, I was able to grab a few images of the globular cluster M13 in Hercules. I tried stacking them with Registax, but the results weren’t very good. Next, we pointed the scope at Jupiter (low on the horizon). With our given eyepiece, there was very little detail to be observed, but for a few brief moments you could see some of the banding (using averted vision) and easily make out the Galilean moons.
While it’s taken me a bit of trial-and-error to dial in the polar alignment procedures for the mount, the optics have performed pretty well right out of the box. I haven’t performed any quantitative tests yet, but everything from splitting double stars to fine detail on the lunar surface have been very sharp; however, there is one optical shortcoming. This would of course be a rather significant amount of chromatic aberration. For those who haven’t studied optics, chromatic aberration results from the wavelength-dependent refraction of light. Basically, light passing through a lens is refracted (or bent) as a function of both material (what the lens is made of) and the wavelength. This means that different colors of light are brought to focus at different points. By using a doublet with two elements manufactured from different types of glass, the chromatic aberration can be greatly reduced, but a more exotic, and expensive, approach is required to really eliminate the effect. You can see this pretty readily with the naked eye if you look at very bright objects like the moon and Jupiter. It also appears photographically with dimmer stars like those in the images of M42 below.
Next we tried the Pleiades, but this time the eyepiece offered too narrow a field of view to get the entire group into view simultaneously (I guess I need some more eyepiece options). Since the night was reasonably clear, I decided to leave everything set up for a glimpse of M42 (the Orion Nebula) early in the morning.
I got up pretty early at about 4:00 and grabbed a shower. Technically, I was already up as Benjamin had a bit of gas and wasn’t sleeping all that well. After the shower, I ran downstairs and checked the sky—it was still clearish! Since everything was set up, I slewed the scope to M42 (right in the eyepiece!) and focused on the stars of the Trapezium. After a few minutes of visual observing, I couldn’t resist another attempt at photography, so I raced inside to grab the camera. Since I already knew approximately where the Nikon would come into focus, it was pretty quick to get an image up in the live view. This time I zoomed in on some stars and used the live view image to fine-tune the focus. It seemed to work pretty well with some reasonably bright stars in the field. I played with a few different sensitivity (analogous to ISO) settings and ended up with a few good shots. The following are a 9-shot (out of 10 images taken) composite and a single exposure of about 260 seconds taken using the bulb mode. Neither were corrected using dark frames of flat-field frames (primarily because I haven’t figured out how to do it yet!).


You May Also Like

August 2019
4th of July Weekend 2019